

The Ultimate Guide to Pixellab: Tips and Tricks for Stunning Designs
Pixellab is a powerful graphics design app that allows you to create stunning designs for your social media, website, or blog. Whether you're a beginner or an advanced user, our guide will help you get the most out of Pixellab.
Getting Started with Pixellab
Before you start using Pixellab, you'll need to download it from the app store or Google Play. Once you've installed the app, open it up and you'll be greeted with the home screen. From here, you can choose to create a new design or open an existing one.
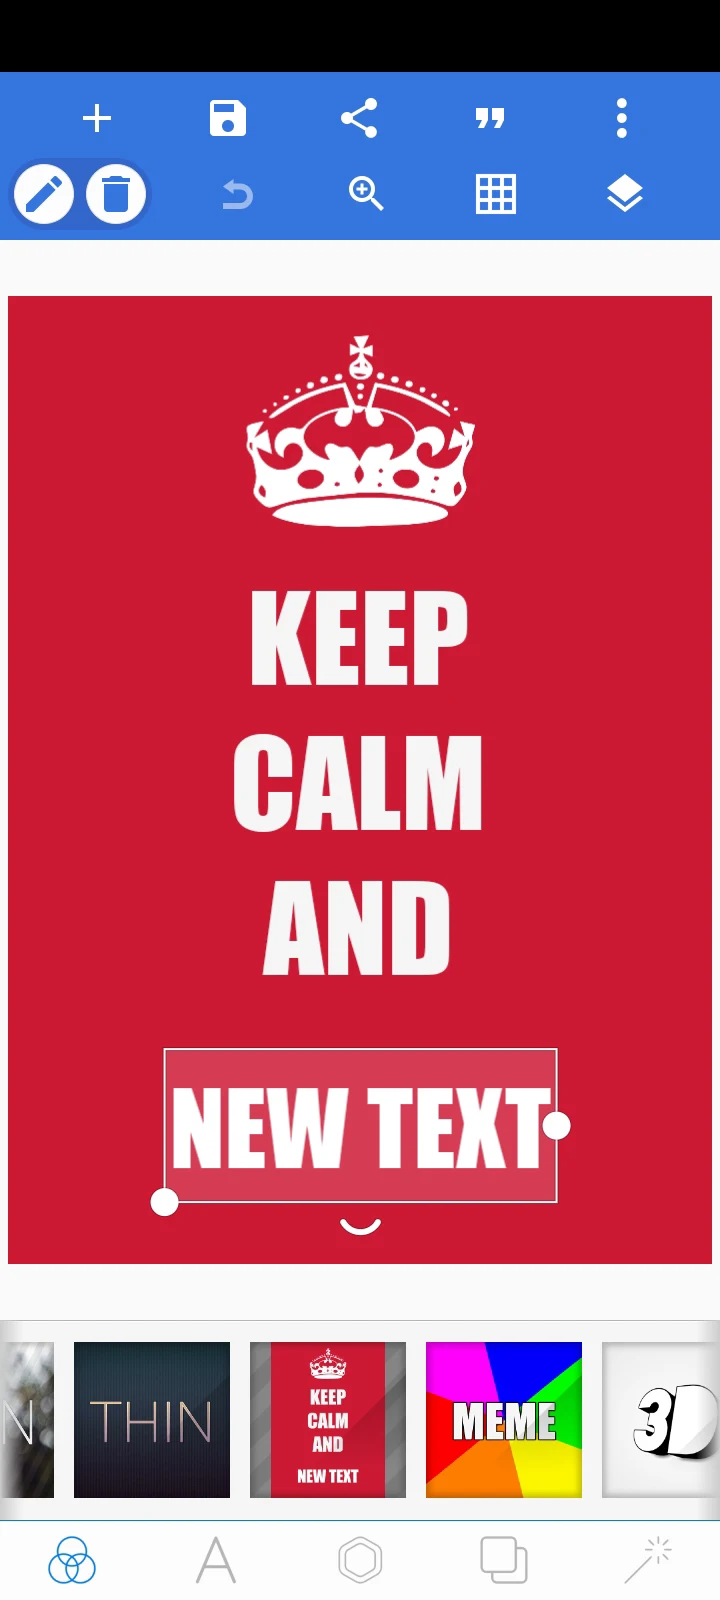
To create a new design, simply click on the "Create New" button and choose the type of design you want to create. Pixellab offers a wide range of templates for social media graphics, blog posts, YouTube thumbnails, and more.
Designing with Pixellab
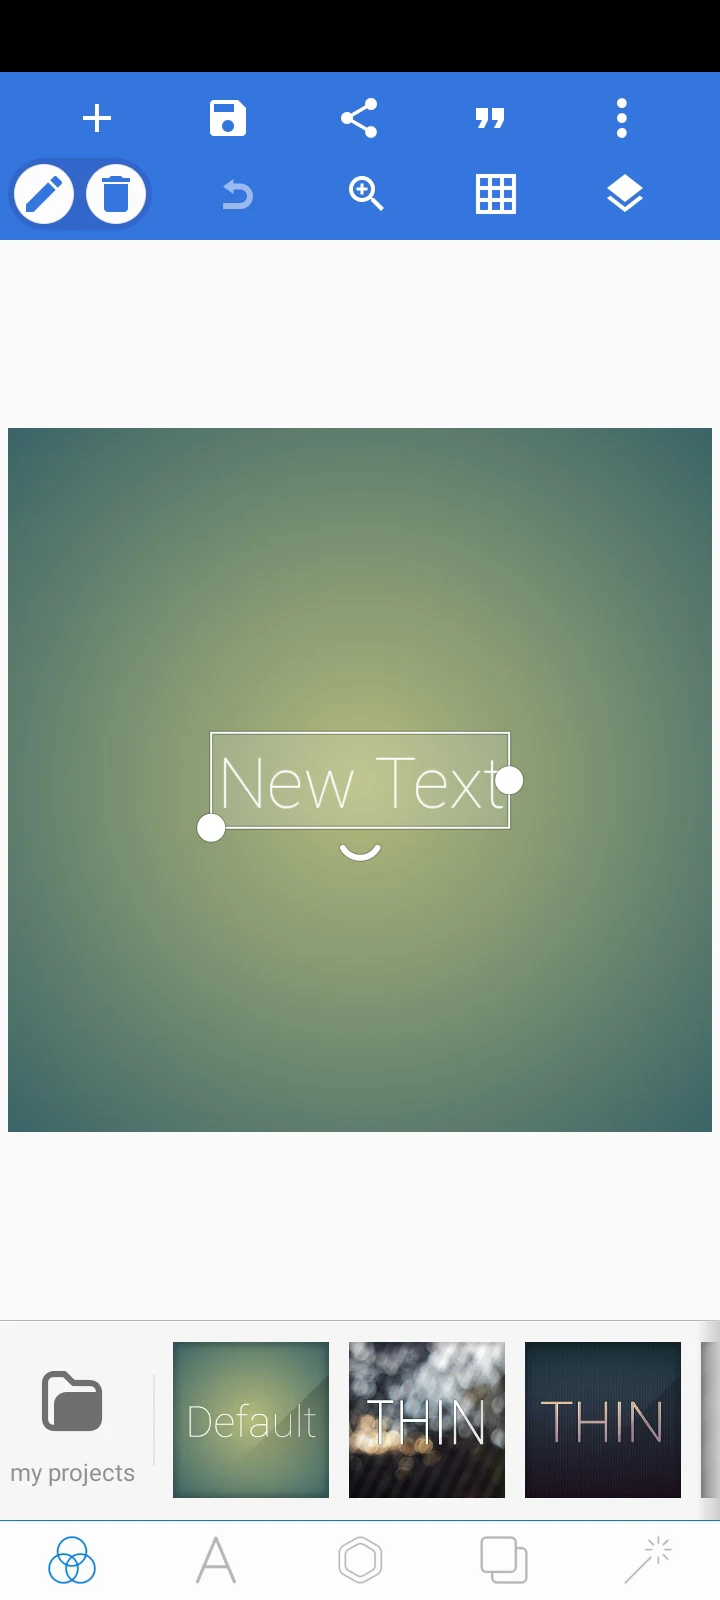
Once you've chosen a template, you can start designing your graphics using Pixellab's intuitive interface. You can add text, shapes, images, and stickers to your designs, and customize them with a range of fonts, colors, and effects.
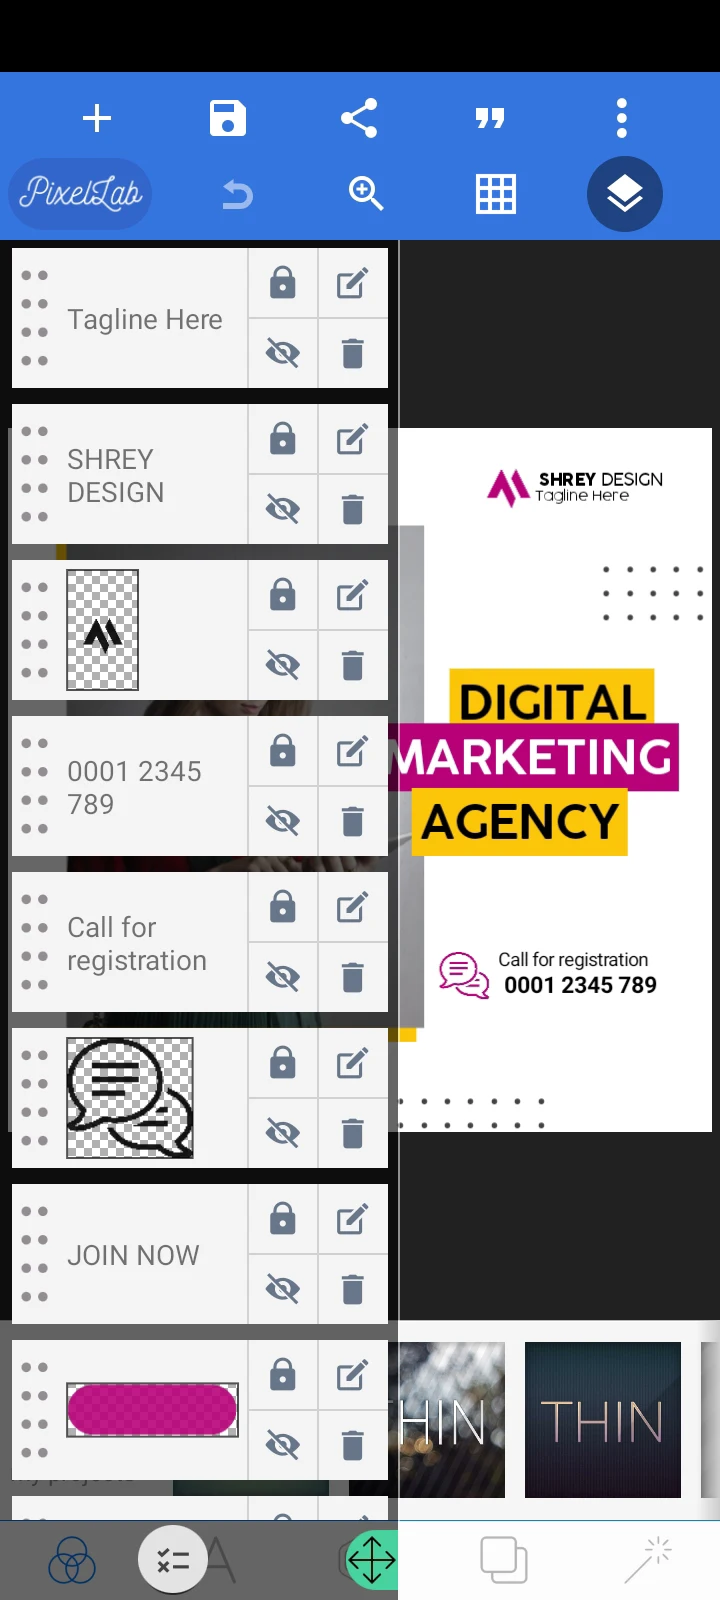
One of the most powerful features of Pixellab is its layering system. This allows you to add multiple elements to your design and arrange them in a specific order. For example, you can add text on top of an image and then apply a filter to create a stunning effect.
Tips and Tricks for Advanced Users
If you're an advanced user, you can take your designs to the next level with Pixellab's more advanced features. For example, you can use the "Curve" tool to create custom shapes, or the "3D Text" tool to add depth and dimension to your text